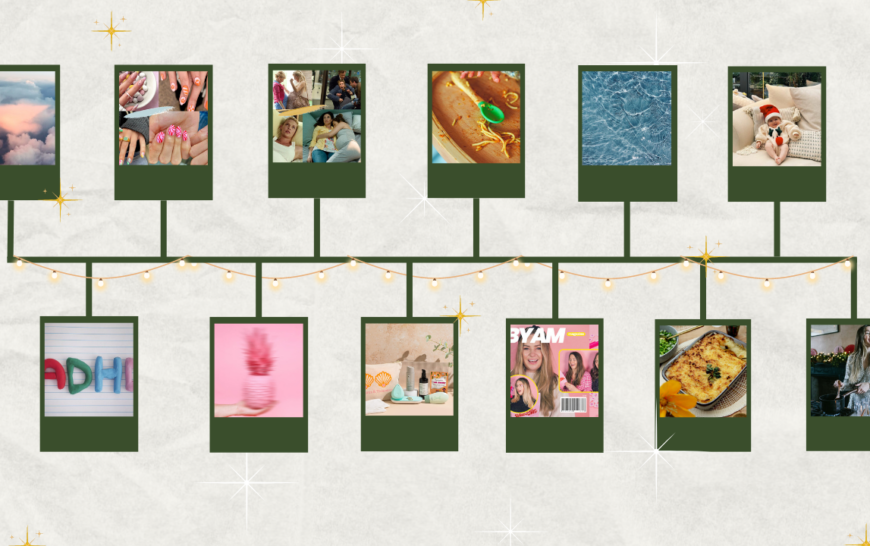
If you’ve ever seen a lemon meringue pie from Meringue Girls you know they are NOT playing around when it comes to delicious sugar and egg whites! We’re so excited to have MG takeover our IG stories today and bless us with this wonderful recipe for Christmas Tree Meringues.
Before you start, read through the whole recipe and all of their tips so that you have a good grasp of what’s ahead. You can also find the method as an Instagram highlight here – check it out for useful images and references.
Top Tips
- Use metal or glass bowls where you can as grease can cling to plastic ones.
- Depending on the size of your mixer, you can scale this recipe up or down… just make sure you always have a sugar to egg ratio of 2:1. The smallest batch we recommend is 300g sugar to 150g egg whites.
- The time it takes to whisk your egg whites can vary – it should be 5-7 minutes but keep a close eye on them and start adding sugar once you have soft peaks. This will vary depending on your mixer and the freshness of your eggs.
- You can use fresh eggs or egg whites from a carton. If using fresh eggs, you probably won’t need cream of tartar, especially if your mixer is powerful.

Ingredients
Ingredients:
- 500g caster sugar
- 250g egg whites
- 1 tsp cream of tartar
- 1/2 tsp vanilla bean extract or essence
- Green food colouring
- Colourful 100s and 1000s
- Gold star sprinkles
Equipment needed:
- 1 stand mixer or powerful electric whisk
- Small cake tin or baking dish
- Large spoon/spatula
- 1 fine star nozzle, we use JEM nozzle #2ES
- 2 piping bags
- 1 paintbrush
- Scissors
- 3 baking trays
- Baking parchment
- Preheat the oven to 200’c.
- Tip your caster sugar into a small cake tin or roasting tray lined with baking parchment. Shake to level out the sugar and then heat in the oven for a few minutes – until hot to the touch but not melting.
- Place your egg whites in the bowl of your mixer and add a teaspoon of cream of tartar. Whisk slowly at first, gradually increasing the speed until the egg whites are at the stiff peaks stage – approximately five minutes.
- Turn the oven down to 100’c, leaving the door ajar to help it cool down quickly – your meringues need to be baking at a lower temperature than used to heat the sugar.
- Turn your mixer up to full speed at start adding the sugar one tablespoonful at a time, bashing out any big lumps. You want the egg whites to maintain their volume as you keep adding sugar – if you see it starting to collapse, stop adding sugar and allow the mixture to stiffen and rise before adding the rest of the sugar, again a spoonful at a time.
- Once all of the sugar has been added, keep whisking until you have a stiff and glossy mixture. It’s ready to use when it holds its shape, usually about 2-5 minutes after you add the last of the sugar. You should also be able to see lovely peaks in the mixture if you remove and upturn the whisk.
- Add the vanilla bean extract to the meringue and gently fold it through the mixture. Do this by hand rather than in the mixer – we find that whisking in flavouring loosens the meringue more than mixing by hand. You’re now ready to colour and pipe your Christmas tree meringues.
COLOURING & PIPING YOUR MERINGUE
- Turn your piping bags inside out, leaving a little tip on each one for you to hold on to later.
- Paint green colouring all over the inside of your piping bags, making sure to go right down to the tip so that all of your trees pick up the colour as you pipe them.
- Place the star nozzle in the tip of one piping bag and pull the bag the right way around again.
- Fill the bag with half of your flavoured meringue mixture. You’ll need to repeat the last two steps with the second piping bag once you’ve piped your first bag, washing and drying the star nozzle in between.
- Cut parchment to the size of your baking trays.
- Use sharp scissors to cut off the tip of the piping bag, making sure the serrated teeth of the star nozzle are clear of the piping bag. Squeeze small dollops of meringue into the corner of each baking tray and stick the parchment down.
- Hold the piping bags with both hands, placing your dominant hand at the top of the bag and your other hand halfway down the bag. Hold the bag steady, about 2cm above the tray and squeeze the bag from the top to start forming the base of your Christmas tree. Keep the bag completely still while squeezing, using your lower hand to keep the bag steady. Stop squeezing once the meringue hits the tray and then lift the piping bag a tiny amount, without creating a break between the meringue on the tray and the meringue left in the piping bag. Drop the bag back down again slightly and squeeze gently to form the middle section of the tree. Repeat the tiny lift and drop a second time and then lift the piping bag straight up to leave a cute peak on the top of your Christmas tree. This will take a bit of practice so don’t worry if you don’t get it first time, just keep going and get a feel for it!
- Repeat until you have piped all of your mixture – you want to work quickly as your mixture will loosen over time.
- Sprinkle brightly coloured 100s and 1000s over your Christmas trees and top with an edible golden star.
- Transfer to the oven and bake for 40-50 minutes to be crisp on the outside and mallowy in the middle. Take them out of the oven when they lift easily off the baking trays with their bases intact. Leave to cool on their baking trays but make sure to try one while they’re still warm!
- Once cool, pack up in cute gift bags to give as presents or store in a biscuit tin for up to two weeks.