What better way to enjoy the beauty of flowers for years to come than by pressing and preserving them?
This is one way to ensure your floral stories will last and last.
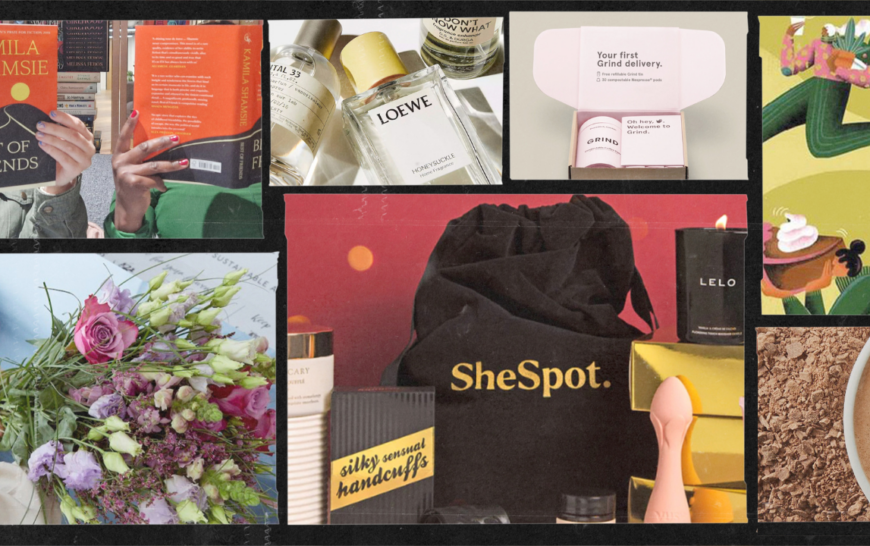
Whether it’s a single red rose from an important anniversary, a peony from your lockdown birthday bouquet or cow parsley stems foraged from your daily quarantine walk, this is one way to ensure your floral stories will last and last.
Whilst we’re still spending a lot of time at home, this is a great way to switch off, step away from the laptop and relax with a bit of botanical meditation. Let the digital detox commence.

Choosing the right blooms
For the most colourful print, pick a flower when it’s freshly bloomed. The flower’s colour will fade as it dries so go for the most vibrant blooms if you can
Harvest flowers when they’re dry and free of moisture – damp plants are prone to mould so get them after the morning dew has dried and before the evening dew returns.
Avoid any flowers with tears or blemishes. If you’re picking them from a garden, make sure they’re free of any little bugs too.
You can also pick sentimental flowers that tell a story.
Flowers with flat buds such as roses, pansies and daisies are easier to press but if the bud is globe-shaped, cut it in half. You can also pick sentimental flowers that tell a story.
If you’re using a bulkier flower, use extra paper and card to ensure every part of the flower is being directly pressed.
Head into the woods and use fern leaves or dried grasses as well as fresh flowers – they look lovely when pressed.
Pressing Techniques
The book method
The easiest way to press flowers at home is to use a heavy book, preferably one you’re not too precious about as it might get slightly damaged or wrinkled in the pressing process.
First start by removing any low leaves from your flower. Then, place each flower between two pieces of absorbent paper (parchment paper works well) and slot them into the pages of your book. If you have multiple flowers to press, just ensure you spread these out in the book to avoid transferring moisture from one flower to another. Close the book and place a stack of books or a weighty object on top to apply pressure against the pages.
Change the blotting pages either side of the flower every three days to help prevent browning. After two – three weeks, your flowers will be pressed. Use tweezers to gently peel your flowers from the book.

The microwave method
Fold a regular piece of paper in half, position your fresh flowers on one side of the folded paper along with any leaves if you’re using foliage, too. Once your flowers are laying nice and flat, take a sheet of kitchen roll and gently place it on top of your flowers, then fold the other side of the paper over the paper towel. Place it in the microwave with a heavy casserole dish on top and heat for 30 – 60 seconds. Gently remove the paper towel and carefully lift your flowers off the paper. You can also use a piece of folded parchment paper instead – no kitchen roll required.
The iron method
Place your flowers between two sheets of paper and place a heavy book on top to flatten.
Empty your iron of water, you won’t want any moisture to spoil the flowers.
Iron the paper on low for 15 seconds and leave to cool for a minute before turning over to do the other side. Repeat the process again, then lift the paper to check the flowers are flat and stiff.

The silica gel method
Yep, you know those little sachets you get with new bags and shoes, they’ll come in very handy when you’re pressing blooms. It’s also available from craft shops if you need it in larger quantities.
Empty half your silica into a bowl and lay your flowers on top. Carefully cover your flowers with the remaining silica gel. Leave them undisturbed for a week before gently dusting them off. Enjoy!
Now that you’ve pressed your flowers, you can create a bespoke botanical glass photo frame or use them to decorate your very own greeting cards.
Why not make several smaller memory frames to gift to your friends and family? You could even pop in a sentimental photograph from a wedding day, for example, with a few flowers that featured in the bridal bouquet.
Have you made any botanical creations with your dried flowers? Let us know in the comments below!